Do you need to extract mailbox data from your Microsoft 365 environment for legal compliance, internal audits, or long-term archiving? While third-party backup solutions exist, Microsoft provides a powerful, built-in tool for this exact scenario: Microsoft Purview eDiscovery (Standard).
Converting an active M365 mailbox into a portable Outlook Data File (.pst) is a common requirement for administrators. However, the process within the new Purview interface can be intimidating if you haven’t done it before.
In this guide, we will walk you through the entire process of exporting a PST file using Microsoft Purview eDiscovery, from setting up the initial case to downloading the final file.
Contents
- 1 Step 1: Access Purview and Create a Case
- 2 Step 2: Build Your Search Query
- 3 Step 3: Run the Export Job
- 4 Step 4: Download the PST File (Using Edge)
- 5 Summary
- 6 Frequently Asked Questions (FAQ)
- 6.1 1. Why can’t I see the “Export results” option in Microsoft Purview?
- 6.2 2. Do I really have to use Microsoft Edge?
- 6.3 3. How long does the PST export process take?
- 6.4 4. Can I export deleted items using eDiscovery?
- 6.5 5. What is the maximum size of the exported PST file?
- 6.6 6. Do I need a specific license to use Microsoft Purview eDiscovery?
- 6.7 Conclusion
Important Prerequisites Before You Begin
To ensure a smooth export process without errors, please ensure you meet the following requirements before starting:
- Permissions are Key: You must be assigned the eDiscovery Manager or eDiscovery Administrator role within the Microsoft Purview compliance portal. Global Admin rights alone are often not enough to see the data content.
- Browser Requirement: You must use the Microsoft Edge browser for the final download step. The export tool uses ‘ClickOnce’ technology, which works best in Edge.
- Local Storage Prep: Create a folder directly on your root drive (e.g.,
C:\PST_Export). The export tool can fail if the file path is too long, so keep it short and simple.
Step 1: Access Purview and Create a Case
The eDiscovery process is managed inside “cases.” Think of a case as a container for your search queries and export jobs.
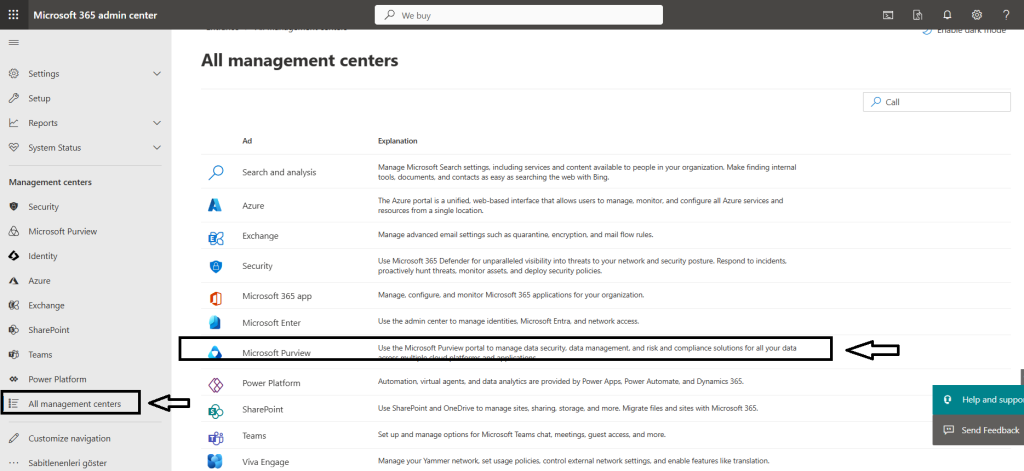
- Log in to the Microsoft Purview Compliance Portal (https://www.google.com/search?q=compliance.microsoft.com).
- In the left-hand navigation menu, scroll down to eDiscovery and click on Standard.
- On the Standard eDiscovery page, navigate to the Cases tab.
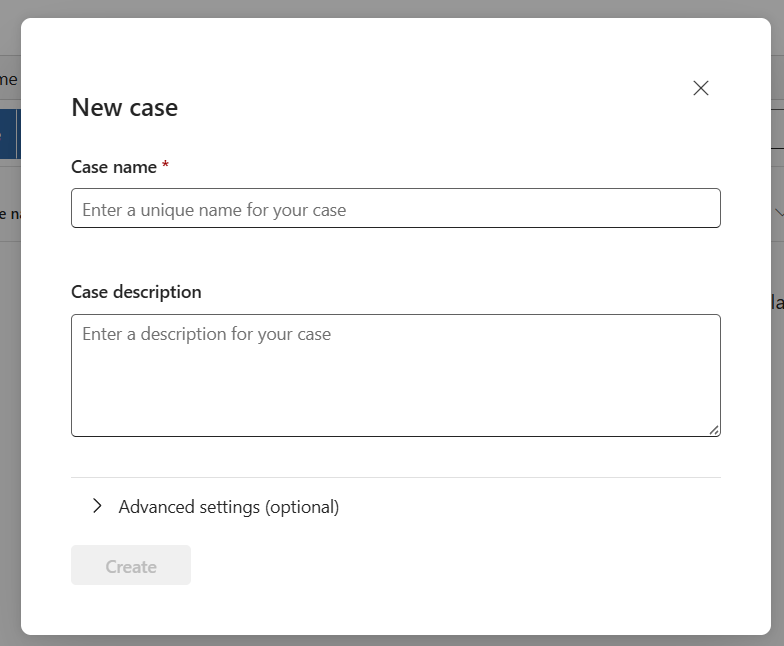
- Click the + Create a case button.
- Give your case a meaningful name (e.g., “Audit-AlexW-2024”) and an optional description. Click Save.
Step 2: Build Your Search Query
Now that you have a case container, you need to tell Purview exactly what data you want to find.
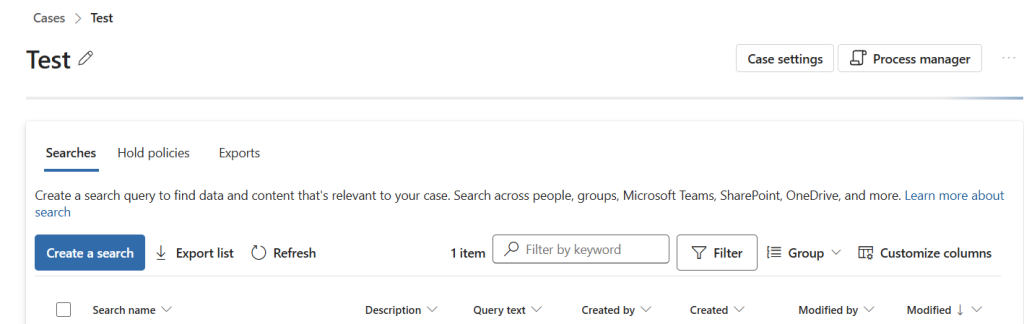
- Click on the name of the case you just created to open it.
- Navigate to the Searches tab.
- Click + New search.

- A wizard will open. You can usually skip the “Name and description” step for the search query itself by clicking Next.
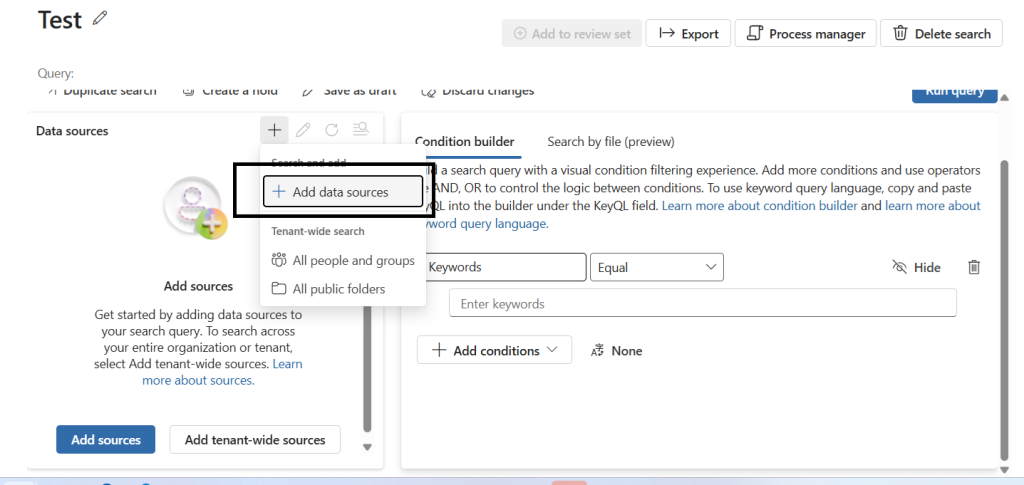
- On the Locations screen, toggle the switch to On for “Exchange mailboxes”.
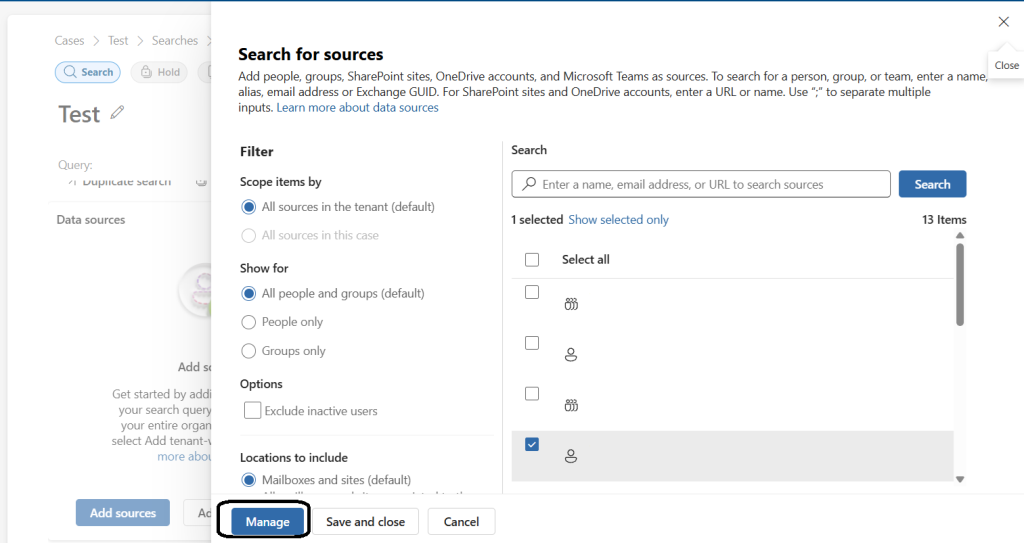
- Click the link that says Choose users, groups, or teams.
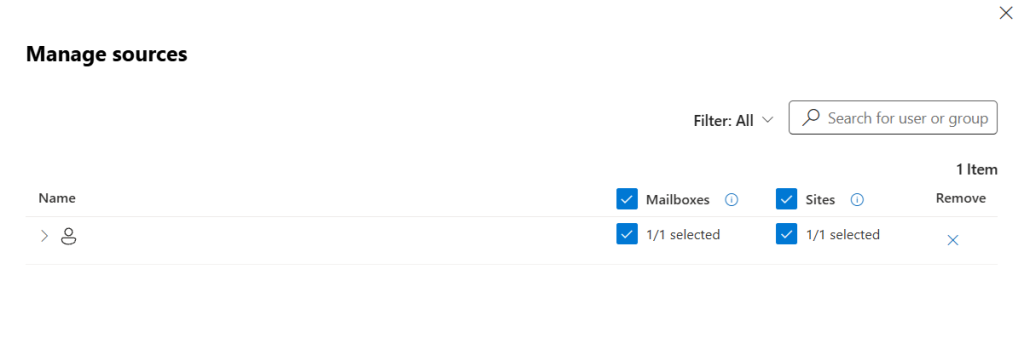
- In the side panel that appears, search for the specific user whose mailbox you wish to export (e.g., “Alex”). Select their account and click Done.
- Click Next. You will be presented with a “Define search conditions” screen. Since we want to export the entire mailbox, skip this step and click Next.
- Review your settings and click Submit, then click Done.
Step 3: Run the Export Job
Your search query is now saved, Purview is indexing the data. You now need to turn those search results into an export job.
- You will be back on the “Searches” tab. You might need to click Refresh to see your new search listed.
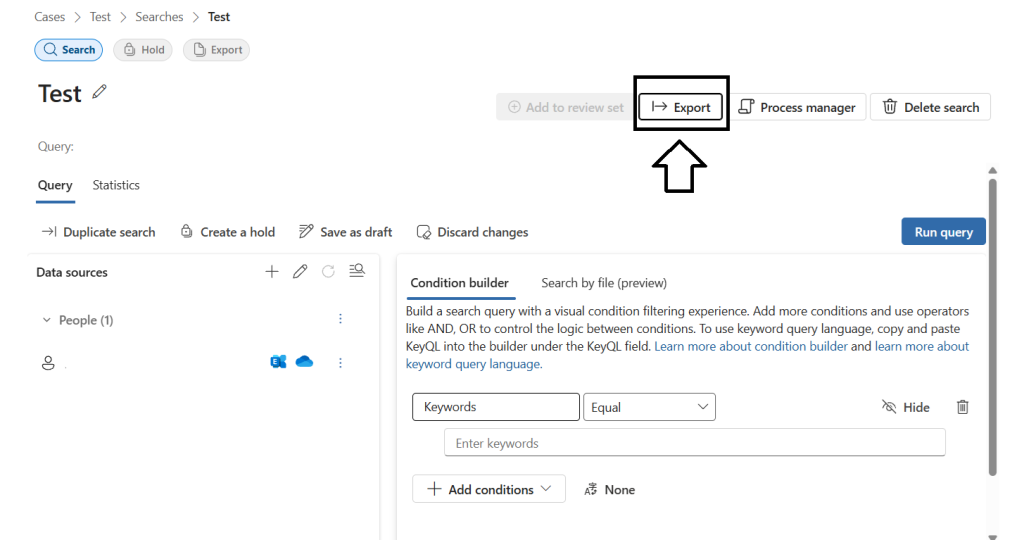
- Click on your search query to select it. A summary panel will slide out on the right.
- Click the Actions button at the bottom of the panel and select Export results.
- Configure Export Settings: You will be presented with options on how to format the output.
- For a standard PST backup, select the option that includes: All items, including ones that have unrecognized format, are encrypted, or weren’t indexed for other reasons. (This ensures you get everything).
- Ensure the output format is set to One PST file for each mailbox.
- Click Export.

Step 4: Download the PST File (Using Edge)
This is the final and most critical phase.
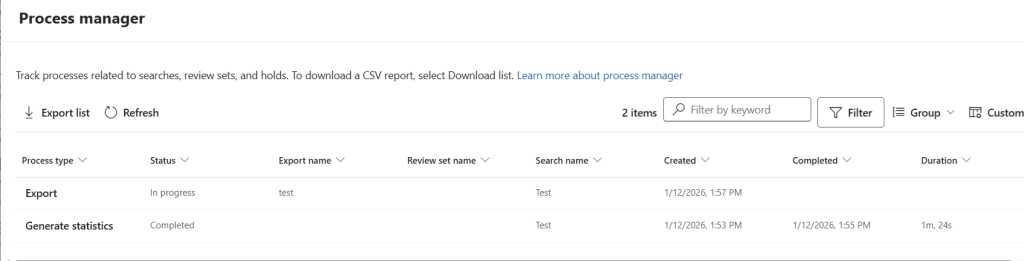
- Navigate to the Exports tab within your eDiscovery case.
- You will see your export job listed. Initially, its status will be “Scheduling” or “Processing.” Be patient. Depending on the mailbox size, this can take minutes or hours. You must wait for the status to show as Finished.
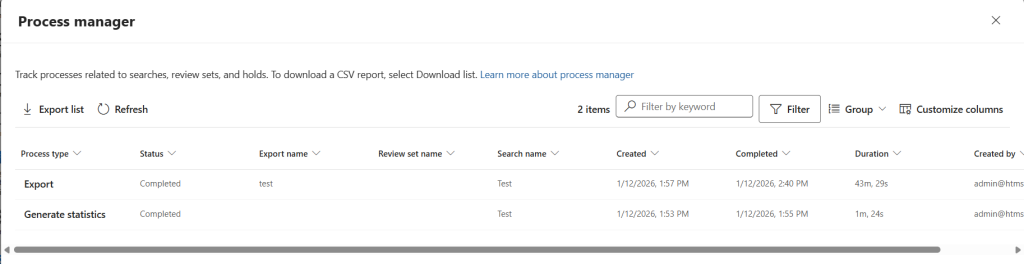
- Once finished, click on the export job name.
- Crucial Step: In the flyout panel, look for the Export key. Click the “Copy to clipboard” icon next to it. You will need this key in the next step.
- At the top of that same panel, click Download results.

- Microsoft Edge will prompt you. It will ask if you want to open the “Microsoft Office 365 eDiscovery Export Tool”. Click Open.
- The eDiscovery Export Tool application will launch on your desktop.
- Paste the Export Key: Paste the long key you copied in step 4 into the top field.
- Choose Destination: Click Browse and select the short folder path you created earlier (e.g.,
C:\PST_Export).
- Click Start.
The tool will now download the data and compile it into a PST file in your chosen folder. Do not close the tool or turn off your computer until it says “Completed”.
Summary
You have successfully navigated Microsoft Purview to export a Microsoft 365 mailbox to a local PST file. You can now attach this PST file to an Outlook client to view its contents or move it to cold storage for archiving purposes.
Frequently Asked Questions (FAQ)
1. Why can’t I see the “Export results” option in Microsoft Purview?
Even if you are a Global Administrator, you might not have the specific permissions required for eDiscovery. You must manually add your account to the eDiscovery Manager or eDiscovery Administrator role group within the Purview “Permissions” tab. Note that it can take up to 24 hours for permission changes to take effect.
2. Do I really have to use Microsoft Edge?
Technically, you can use Chrome or Firefox, but you will need to install a third-party extension to support ClickOnce applications. Microsoft Edge has this built-in, making it the most stable and recommended browser for the PST Export Tool.
3. How long does the PST export process take?
The duration depends on two factors: the size of the mailbox and the current load on Microsoft’s servers. A small mailbox (under 2GB) might take 15-30 minutes, while large mailboxes (50GB+) or multiple accounts can take several hours to prepare and download.
4. Can I export deleted items using eDiscovery?
Yes. One of the primary benefits of using Purview eDiscovery is that it searches the Recoverable Items folder (the “hidden” trash). As long as the items haven’t passed the permanent retention period, they will be included in the PST export.
5. What is the maximum size of the exported PST file?
By default, the export tool will split the data into multiple PST files if the total size exceeds 10 GB or 20 GB (depending on your specific settings) to prevent file corruption. You can change these limits in the export settings if you prefer larger or smaller individual files.
6. Do I need a specific license to use Microsoft Purview eDiscovery?
Yes. To use eDiscovery (Standard), you generally need a Microsoft 365 E3 or Business Premium license. For advanced features like eDiscovery (Premium), an E5 license is required.
Conclusion
Exporting PST files through Microsoft Purview eDiscovery is the most reliable way to secure and archive mailbox data within the Microsoft 365 ecosystem. While the interface can seem complex at first, following this structured approach ensures that you capture all necessary data while maintaining compliance standards.
Remember that the success of your export often comes down to two simple things: correct permissions and using Microsoft Edge. By keeping these in mind, you can handle any data extraction request—whether for an audit, an employee departure, or a routine backup—with confidence.
If you encounter any specific error codes during the download phase, double-check your “Export Key” or ensure your local disk has enough space to accommodate the final file.